Easy-to-Sew Garments
Season 13 Episode 1305 | 26m 46sVideo has Closed Captions
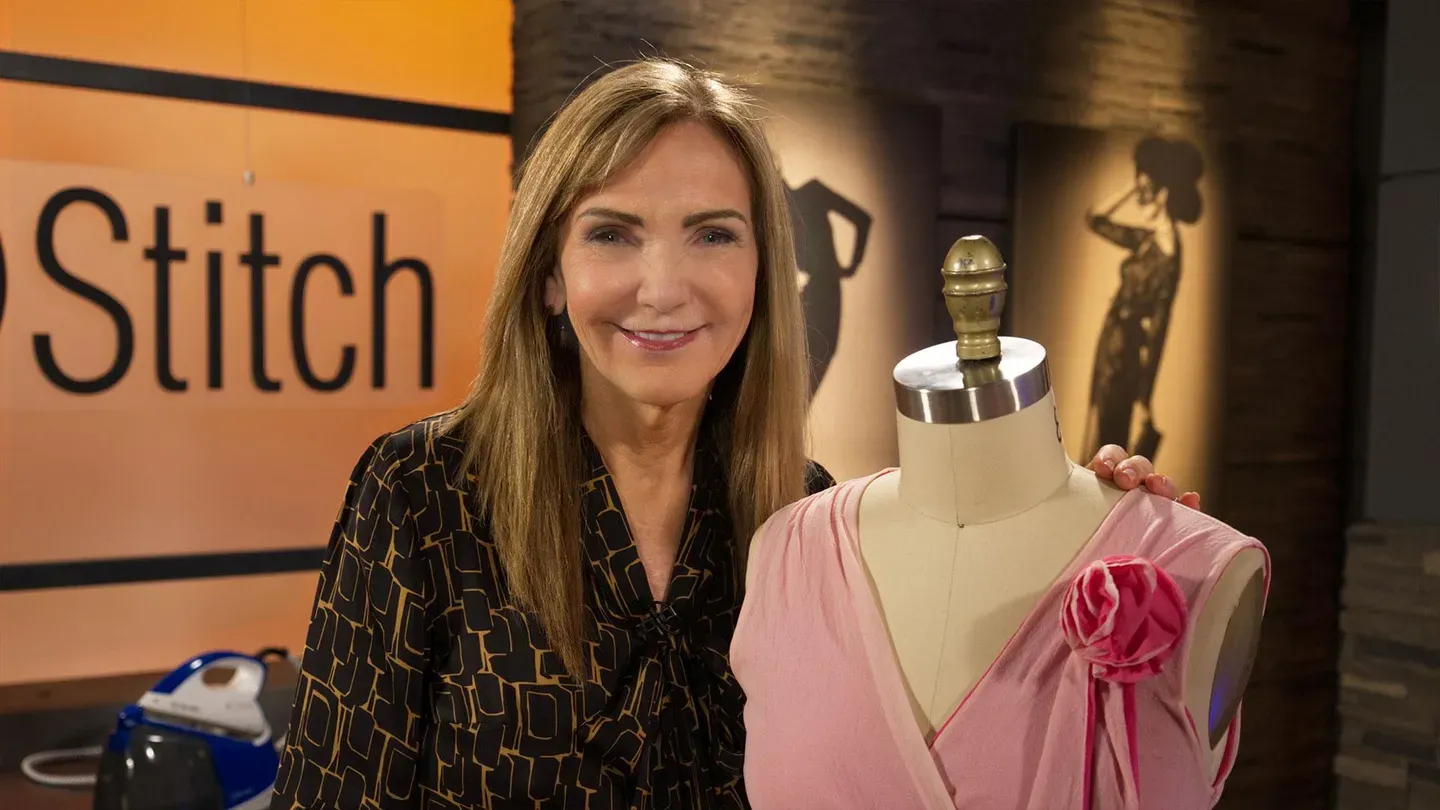
Peggy explains the concepts of length, circumference, depth and how to apply them to your patterns.
Fitting garments is said to be one of the hardest skills in sewing. Peggy defines fit as when the length, circumference, and depth of the pattern match that of the body. It is easy to say, but a bit harder to apply these concepts. On this episode of Fit-2-Stitch, Peggy explains the concepts of LCD -length, circumference, and depth and what you must know to apply them to your garments.
Problems playing video? | Closed Captioning Feedback
Problems playing video? | Closed Captioning Feedback
Fit 2 Stitch is presented by your local public television station.
Distributed nationally by American Public Television
Easy-to-Sew Garments
Season 13 Episode 1305 | 26m 46sVideo has Closed Captions
Fitting garments is said to be one of the hardest skills in sewing. Peggy defines fit as when the length, circumference, and depth of the pattern match that of the body. It is easy to say, but a bit harder to apply these concepts. On this episode of Fit-2-Stitch, Peggy explains the concepts of LCD -length, circumference, and depth and what you must know to apply them to your garments.
Problems playing video? | Closed Captioning Feedback
How to Watch Fit 2 Stitch
Fit 2 Stitch is available to stream on pbs.org and the free PBS App, available on iPhone, Apple TV, Android TV, Android smartphones, Amazon Fire TV, Amazon Fire Tablet, Roku, Samsung Smart TV, and Vizio.
Providing Support for PBS.org
Learn Moreabout PBS online sponsorshipPeggy Sagers: Fitting garments is said to be one of the hardest skills in sewing.
Fitting involves making sure that the clothing will flatter the body that will be wearing it.
In past episodes, we've defined fit as when the length, circumference, and depth of the pattern match that of the body.
It's easy to say, but a bit harder to apply these concepts.
Today on "Fit2Stitch," we talk about LCD, length, circumference, and depth, and what you must know to apply them to garments you've purchased, join us.
♪♪♪ ♪♪♪ male announcer: "Fit2Stitch," is made possible by Kai Scissors, ♪♪♪ Reliable Corporation, ♪♪♪ Plano Sewing Center, ♪♪♪ Elliott Berman Textiles, ♪♪♪ Bennos Buttons, ♪♪♪ and Clutch Nails.
♪♪♪ Peggy: I love to sew, you all know that, and I think when I first started sewing, I really had--my mother was so helpful, and one of the things she had me do was she had me observe.
And so, today what I'm gonna do is kind of teach you to observe things and then duplicate.
When we were teaching Maria how to sew, I said to her, "Observe straight lines for a while, just observe straight lines, and then we'll take them to next level."
So, we're just gonna start in that logical little sequence of observing straight lines, what we can do with straight lines, and then how we can apply them to our clothing.
So, when we start talking straight lines, you know, there's so many things we can do with fabrics.
Even if we don't sew a lot or if we just sew a little bit, here's some things.
First off, we just took-- this is a-- these days you can take photographs, and you can have the photographs, you can search for companies that do this online, you can have the photographs transferred onto a silk, a piece of silk.
You can choose the size you want it to be, you can choose all of those things, and simply have a personal piece of artwork that is your very own.
Isn't that beautiful?
And a beautiful gift.
If you go somewhere with friends and you took pictures, know that you can have that transferred onto a rectangle, and take that rectangle and do something with it.
You could finish those edges by hand or you can pay to have them finished before you get them.
The other thing I want to show you, we're talking rectangles in general right now, is all I want you to do is deal with straight lines and rectangles.
I'm gonna take a piece of fabric, and this particular fabric is going to be 52 inches long and it's going to be 21 inches wide.
That does not have to be exact.
It does not have to be exact, but what I'm going to do is I'm going to take it and finish all the edges, or if you're doing a knit you don't need to finish any of the edges, we know that, and I'm gonna take and fold this all the way in half.
All right, so I'm gonna fold it in half to where the fold is up here, I'm gonna take the lower corner, I'm gonna fold it up to the upper piece.
However, when I go to sew it, I'm not going to sew it to the next level, I'm going to push that down, and I'm going to sew it to this back level right there.
One seam, one seam straight line and let it fall down.
And what it's gonna do is it's gonna twist itself to create exactly this.
Now, you'll look at this and say there's no way.
Yeah, it is, back here is the one seam, and the one seam will go diagonal across the back of you, the longest point will hang down, and it will automatically twist in the front.
And it will do that because when I took that and skipped the first layer and went to the back layer, that creates this twist.
So, when you put it on your body make sure this diagonal line goes through the back of you.
It's long enough you can wear it over many things, but then you start playing with fabrics, and the fun thing is, is in this case, I took the same fabric, I smocked the top, I let the bottom go plain, and then I took and twisted the top.
So, you can make, out of the simplest little lines, some really gorgeous things.
It's just a matter of observing what we do and then taking it and transferring it to the fabric.
I personally think it's all about the fabric.
I think I always start with fabrics, and I'm always looking for the weirdest fabrics out there so I can bring them back and interpret them to be something so unique and different.
So, now what we're gonna do is we're gonna take straight lines to every aspect of our lives, and we're gonna start with very casual clothing.
So, when I say clothing, I'm even gonna take it to our undergarments.
Remember, with Maria, we did a tank top.
We're gonna do that same tank top now, but we're gonna do it in light, sheer fabric.
We're gonna add a little bit of lace, because what we can do with lace is we can cut and paste it, and by that I mean we don't have to finish the edges, the edges will not ravel, and we can literally cut it out however we want.
I cut a little heart here, I cut and pasted and sewed it together, and there's my tank top, but it's called a camisole now.
And then I took just a rectangle piece of fabric, a rectangle that was wide enough to go over my hips, and then brought in the elastic to my waist, I put lace on the top, lace on the bottom, and I called that a slip.
And it is surprising how much a slip can cost you and what little amount of time you can make that in.
So, that's a great place to start.
Then we're gonna go and we're gonna make a little exercise outfit, and we're gonna do our little tank top now, except we're gonna do it in black knit.
And I'm not even going to finish the edges, because again, I don't have to.
Although I will say one thing, that these edges are just finished with a serger.
You don't have to finish them, it won't make a difference if you don't, because we know knits don't ravel.
But on the very bottom when we're doing a tank top, I would--or a knit especially, I would recommend you finish those edges, because if they're not finished, they'll curl.
And it drives me crazy when I have on a little knit top and that bottom just curls up-- ugh, so annoying.
So, this is our little exercise outfit.
We do a little tank top and we do a little pair of leggings, because again, we know with leggings, it's just straight, simple lines, a little curve in the crotch, you guys know how to handle that now, Maria taught us how, and we're good to go as we go on to do that.
If we wanna do a little crop top, we take our elastic, just like we did in our slip, we cut it off, we can sew on an elastic band, and we can have an elastic band right there at the bottom, so instead of a tank top, we can have a little crop top.
I have to tell you a secret, over the years-- and you gotta promise not to tell anybody this-- but, you know, Calvin Klein has that beautiful underwear and it's got a really wide waistband on it and it has Calvin Klein, and they use that Calvin Klein logo on a lot of different things.
Well, I was not shopping for it, but I was shopping and found some, you know, in some resale place, that Calvin Klein underwear.
I didn't want the underwear, but, boy, did I want that band.
And so, I bought the underwear, cut off the band, and I put it at the bottom of a little workout outfit, and, of course, it cost me a whole dollar, but everybody thought it would be $50, $60, whatever they charge for those high-end things.
So, the next thing we're gonna make now, we're gonna progress, and we're gonna do-- we're gonna add a little hood, because there's no reason we can't.
I want you to notice this is not ribbing at the bottom of this.
When I made this, I just used the fabric and I doubled it like ribbing, but I didn't have to worry about matching ribbing.
It's simply the same fabric just made and a pocket added.
Again, it's all straight lines.
Does it have to really fit?
No, all of these things are gonna fit, really, without length, circumference, or depth being exact, just because they're knits, just because they'll kind of mold to our bodies, and simply because they'll work and they'll work well.
Sweats, warmups, they don't really fit that well anyway, so we're gonna practice with some of these and now we're gonna move to garments that fit a little bit more so.
And again, I'm always into one saying: Make it about the fabric.
So, in this particular case I made it all about the fabric.
We've learned how to do a little V-neck, we're gonna use our templates to do our little V-neck, and we've got a bust dart and a waist dart, and I'm gonna show you how to do that even to clothing that you've already purchased where you can add it in afterwards, but if you're making something you can add those darts in just the opposite.
So, we're gonna go back to this little top here.
Before we go to this top, I want to talk about this.
So, this is--when we talk about straight lines, and again, because I'm always looking at straight lines and I'm always looking at very high-end straight lines, because sometimes when you talk about the fabrics and the fabrics sometimes are cashmere, they're very high-end, but you can get the same look and you can make it for much less.
So, this is a belt, it's a square piece.
This is 45 by 45, and what I did with this is I just finished the edges, just finished these edges here, or again, with a lace you don't necessarily have to, and it can change up to where it can just kind of be a little shawl that you wear.
So, I could start out with a belt, I can change it up to a shawl.
I want those rectangular pieces to have multi uses, and so whenever I'm looking for them, especially when you're traveling, it's great for them to pack up, they pack up into little small spaces, and I can really take those straight lines and make many things with them, because what we know is most of our shawls, most of our wraps, most of our belts, those are all done with just straight lines.
Okay, let's get back to fitting.
This is a shirt I bought.
Remember, you buy the shirt and when you buy the shirt, you don't get to choose all the parts and pieces, unfortunately.
And so, when we buy them, sometimes we're a little broader in the shoulders, you know, sometimes we have to buy for that, and it leaves us too much in the body, or we always get-- I call these little weeping-- I don't know what you want to call them-- weeping willows, whatever you want to call them, but we get all these lines.
If you look and see all these drag lines that we get, and that's simply because we took a piece of fabric that was straight, that was flat, we put something under it, a bump, a few bumps, and, of course, the fabric's not gonna lay flat anymore, it's just not, and the bigger the bumps, the bigger the wrinkles are.
So, when you have a shirt that you've made, that you've bought, you're gonna take it and you're gonna cut up the side seam... and cut up to about 3 inches below the armhole, and then what you're gonna do is you're gonna sew in a dart and you're just gonna pinch it up until literally you're going to pull it until you can see all of this is going to go away and all of those wrinkles are going to disappear, and a dart, when you drape it, all you gotta do is taper it from-- the reason those gaps occur, let's go back to this side, is there's too much fabric here, and it's okay here, and that's because the center parts of our body are longer than the sides of our body, and this is what we call depth.
Length, circumference, depth.
You can see if I can pull it there, I can make it work but I can't stitch it there because the back is too long.
So, that's the reason I'm gonna cut it and I'm gonna go ahead and sew it.
And some of us get a little nervous when we start cutting up our purchase-made t-shirts, but all we have to do is start at the point and stitch it, and then we're gonna sew it back together.
And when we start to sew it back together, we're gonna notice the only issue here is that the front is shorter than the back now, but do you know how many shirts are naturally-- the way they come from the store-- they are shorter in the front than they are in the back?
So, I could actually just leave it like that, or I could just shorten the back all the way around and make the hem even again, but look at the difference between the sides where I completely take away all those wrinkles, and not only do I do that, but I show off what a beautiful, thin waist we have, because all of us, our waist is the smallest part of our body.
So, it makes sense to kind of show that off.
And when we don't have darts, we don't get an opportunity to show that off.
So, this is a good way to start into your closet before you've even decided to sew the big time, and just see if you can't tweak a few of the little things that you have in your closet.
If this were a woven garment, like this one is right here, then we would wanna do some front darts also.
Generally, knits do not need front darts, only wovens do because knits actually fit better.
They do it by negative ease, we call it, and that just means that the shirt itself is smaller than the body, but blouses don't do it that way, they have to have darts.
They have to have a little bit of our help, so all we have to do is help them, and just some of our rules of darts is darts should be 4 inches from center front.
Mine are probably a little bit off, but that way you can see how much thinner this person looks than what she did when we started.
And in every case, and I'm telling you, I say this to women over and over again and they'll always argue back with me, you will always look thinner with darts, always, 100% of the time.
The waist is our smallest part, even if you have a tummy, I don't care, the darts.
You can't see the size of the dart when it's stitched, and so that dart really helps us look smaller.
So, keep in mind the length that we go to do this, when we talk about length, it's the distance from the base of the neck to the bust.
So, we want that dart to be underneath, we want it to be underneath the bulge, don't let it come up through.
It'll naturally, if you just pin out the wrinkles, it'll naturally come under length.
The circumference is already there.
You already liked it because you bought the size of the shirt that you bought, and then you just pin that into place, stitch it up, and you're ready to go.
Another easy way to really do the same thing is with elastic at the waist, and this is just an example where if I didn't have a dart or if I didn't want to stitch a dart, especially if it's a kimono, raglan, anything like that, I went ahead and I added elastic at the waist.
That gives me my length also.
That gives me a little bit of depth to the garment that wasn't here beforehand, and you can see that gives me some shaping, and elastic is a very simple way to take a garment, make it much simpler than what it could be if I had to add a cuff and all of those things.
The elastic really does that for me.
And if you have a tendency to notice again, notice garments, notice how designers are very pressed to make things very affordable, and they're very pressed to make something from nothing.
So, our lar--our garments in the stores today are extremely creative, but they're extremely simple.
And so, if we really take and look at that and look at them closely to say, okay, what's the base of this?
How is it done?
How is it made to be creative?
How is it made to just be so simple?
With one stitch, it was completely changed.
I think you'll really see a difference.
I wanna spend just a minute, I wanna make sure we understand length, circumference, and depth.
Of all of our sewing, we can add it in and we can keep our garments still really simple, but that length, having a bust dart, adding a bust dart if we need it, if we are dealing with a tissue that does not have a dart, we can cut from the side of the tissue, we can cut up from the bottom of the tissue, and we can close up the bottom and it will open up a dart for us.
We can do that, that's not hard to do, but what we wanna do is keep a bust dart and a waist dart, especially in our woven garments.
And if you notice this, and I purposely chose this because I chose a pattern that was just really wild and really different, and when I did that, I wanted something very simple.
The pattern itself, I wanted it to be very simple, and yet you notice I've got darts going through this design, but it doesn't disrupt the design.
A lot of people will fear that "Oh, if I put a dart in, it will really disrupt the look and the design of the garment," and that's just not really true, and we see in this case where it really doesn't.
All right, so waist darts, bust darts, those are good things.
How do we put them in?
We can cut, we can sew, we can really add them in easily.
I wanna make sure that I'm using my simple garments when I first start to sew, do them in my undergarments, do them in my exercise garments, doing it in stuff I wear around the house, and then I think we can even transfer them to kind of our after 5 look.
So, I wanna look at this garment, and again, we're gonna talk simple lines here, and I think what changes it a lot is our materials, our materials.
So, this was a scarf, top, whatever you wanna call it, that I had seen, and so I decided that what I wanted to do was copy it.
Now, I have to tell you that this was approximately $500, the top, and because the gentleman who creates these and designs these creates them in such a way that he actually creates the fabrics as well as the pattern.
So, you get the borders here and you get things that you probably couldn't do if you were just, you know, using a fabric, but I still want to take this off and show you how this dressy fabric, and this simply measures a rectangle, a square--I'm sorry-- 36 by 36, and what does it have?
It has a hole in the middle, and it's literally in the middle.
There's not any difference in the front, there's not any difference in the side, it's literally just a hole in the middle.
The fun thing about this is-- and this hole is 11 inches apart, and just has a little scoop to it.
Now, I put this over a really simple little black ensemble because what we know about black is it's that little black dress.
And again, you can purchase or make, it doesn't make a difference, but we have our neckline template, we have our armhole template all here, and then all we have to do is add a little skirt to it, and in this case, that's all I did.
When I go ahead and I put this over it, I want you to watch how it changes it up.
First off, it can go to where the long sides are on the front, or if I decide to wear it at an angle, I can put those longer points in the front, and then what he does with this, and this is a guy that I found and it had a whole YouTube on how to do it.
When you split it like this and you put the short sides here, he takes the long sides from the back, and he brings them around and ties them in the front, and just makes all kinds of different outfits.
Whoops, I missed that, sorry.
He makes all kinds of different outfits out of this one look, and your arms are coming out here so it's kind of like a little peplum underneath.
It's just incredible, and how simple it is, is always amazing to me.
So, some of this I wanna talk about because I think these simple little projects can be really fun.
Down the road, as we've structured this particular series, all of these elements, as we choose clothing and as we choose to make clothing, there's a lot of different information that we need to bring in.
Personality of our clothing, personality of ourselves, what it says, couture techniques-- all of those things as you watch this series are gonna be a little bit later on.
We'll show how to do a beautiful bias neck binding so that you can easily complete and finish this bias neck binding, just keep watching, and then also how to finish these edges along the side here.
So, we've just got some beautiful ideas and ways for you to completely finish these very simple garments.
I'm going to put this back on here and then I want to talk about and finish up this LCD concept which I think is very important.
So LCD, and when we define fit, what we do is we define it as when the length, circumference, and depth of the body matches the length, circumference, and depth of the pattern.
Where is it in the pattern?
It's measured from the base of the neck to the bust point, the bust point to the waist, and the waist to the hip.
Those are my three lengths.
Then circumference is always the size of the garment.
So, if I'm choosing a size small, that means my circumference is less than if I were a medium or a large.
The interesting thing in Europe is what we know is that sizes go by 38, 40, 42.
They actually physically measure and use that measurement as the size.
For some reason in the States we translate that number to a size, which is terribly confusing because it never stays the same, and then because every designer uses a different size and a different number, we never know what size to get.
But the first thing we can do is we can measure our garments to get the sizes we wear.
There really is no benefit in measuring our bodies, because there's not much that we wear that equals our body.
We're usually adding more to it or we're taking it away, which we call negative ease.
So, if we measure right here through our bodies, we can see that this particular garment is measuring 38 inches, 38 inches is the size of the garment I like, it's the size of the garment I want to wear.
If I go to this garment and start to measure that, and these are both garments I wear, and I'm telling you that because this one is now measuring 48.
So, in my sloppy world, 48 works great, and then in a little more fitted world, I come way down in size.
So, recognize what your smallest is.
The smallest would probably be my knit top.
What my largest is, you know, our casual clothes, our wear around the house, and those are gonna be all our circumferences, but don't stop there.
What I would highly recommend is you get out a little chart and just make a little spreadsheet and put in your measurements.
Measure your sleeve circumferences, and if you notice this sleeve, if I measure my smallest, it's, like, 11, and then if I go over here and measure my larger, you can see that even in my sleeves, I change from 11 to 14, so that's quite a bit of difference, and what we wanna do when we're sewing is understand what we like.
I think the other thing is, is even for me when I'm shopping, I use my hand as a measurement because I played piano for so many years, I know how many inches it is from my pinky to my thumb, but you can just measure that on a ruler.
So, when I spread my hand, I'm about 8 inches, so when I'm at the store I'll measure a neckline, "Oh, that's about 8 inches."
When I measure a sleeve, "Oh, that--" you know, just use kind of your body parts to figure out how long things are, and that way you can really start to tell where I want to make them and how I want them to fit.
So, this is a really important thing when I start to make clothing, is that size and that circumference and to figure out how many inches I like, how many inches I need, and how many inches I want at the very largest and how many-- that's all circumferences.
And then the last thing what I put in is length, circumference, is my depth, and that depth, in my opinion, is probably the most important because that makes us look the thinnest, and I've always said I can teach you how to lose weight by taking in a few darts.
You don't need to cut out the food, you just need to learn how to stitch a dart, and I do really believe that's true.
And you know, my comparison that I always say is kind of like Dolly Parton in a moomoo.
So, if you think that's a flattering look for her, then you're in the wrong direction.
We want to go the other way and make sure that we recognize that when we take those darts in, we really start to silhouette the body and really started to make it look the best it can.
So, LCD in our sewing, we can do it in very simple ways.
I don't want to overwhelm, I don't want to get complex, start with straight lines, start to sew, start to have fun, and then add that LCD in simply.
Just kind of sneak it in on the side.
Each style archetype offers a distinct fashion statement.
Knowing these archetypes allows you to develop your wardrobe and accessorize it in a way that expresses your personality and preferences.
Archetypes of fashion, right here next time on "Fit2Stitch."
♪♪♪ ♪♪♪ ♪♪♪ announcer: "Fit2Stitch" is made possible by Kai Scissors, ♪♪♪ Reliable Corporation, ♪♪♪ Plano Sewing Center, ♪♪♪ Elliott Berman Textiles, ♪♪♪ Bennos Buttons, ♪♪♪ and Clutch Nails.
♪♪♪ To order a four-DVD set of "Fit2Stitch Series 13," please visit our website at fit2stitch.com.


Support for PBS provided by:
Fit 2 Stitch is presented by your local public television station.
Distributed nationally by American Public Television